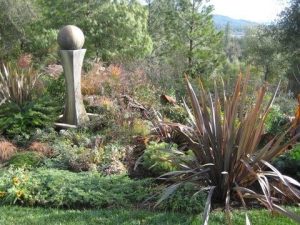
Spring has arrived in the foothills. Trees are budding; daffodils are out. It’s gardening time again. This winter El Niño plied us with storms that soaked the hills with rain and covered the mountains with snow, making the ground perfect for planting. The soil is moist and soft, ideal for digging projects. This is the time to put in that pond you were thinking about.
You weren’t? A pond is easier than you think and makes such a soothing addition to a garden. The plants you sink in the pond never need watering and they add color to the landscape. A pond also encourages birds and small creatures to fill your area with song and life, making the garden a wonderful habitat.
First on the agenda is placement. The pond should be located where the plants will get at least four to five hours of sunlight. (Some water lilies need six to eight hours of sunlight to bloom.) If you want to run a pump with a water feature, such as a waterfall or fountain, be sure to place the pond near an outlet. It is best to avoid having trees hanging over the pond as the leaves will fall in and sink to the bottom, clogging the pump and fouling the water.
Second, take a rope and form a shape that you like-round, kidney, or more free-form-on the ground. This will be your guideline for digging. To create a shelf for plants that require shallow water, dig down from the rope twelve to sixteen inches deep. The shelf needs to be wide enough to accommodate the base of the plants, about twelve inches or so. It is very important to make sure all sides of the pond are level. Take a two by four board that stretches across the pond and use a level to make sure all the sides are even.
Third, dig down from the shelf about eighteen to twenty-four inches for the pond bottom. The bottom of the pond doesn’t need to be even. It can even slope from one side to the other, creating a shallow and deep end. If the pond will be stocked with fish, this will give them a place to dive in case they encounter raccoons or other predators.
Next, put about an inch of sand at the bottom of the pond (not on the shelf) to cushion the liner that will cover the bottom. Use a thick Butyl or EPDM rubber liner (found in garden stores with pond supplies) to line the pond. These come in sizes from 5×5 feet to 30×50 feet. Drape the extra over the edge of the pond and fill the pond with water. As the water fills the pond, try to smooth out any wrinkles in the liner as the water climbs up the sides. You can cut the extra liner to about six inches over the top of the pond and cement rocks on top of it so the edge won’t show and the pond looks natural.
This is a very basic guide for constructing a pond. You can be as creative and expansive as you want. Try to make the pond fit in with your garden surroundings by placement of plants and rocks to make it look natural. There are many plants that will overwinter in our foothill climate. Be sure to read the information on the plant in the nursery to determine its proper zone. Also, be sure to consult the numerous step-by-step guides in garden stores with pond supplies.
Francie McGowan is a UCCE Tuolumne County Master Gardener and a Bay Area transplant to the Sierra Nevada


